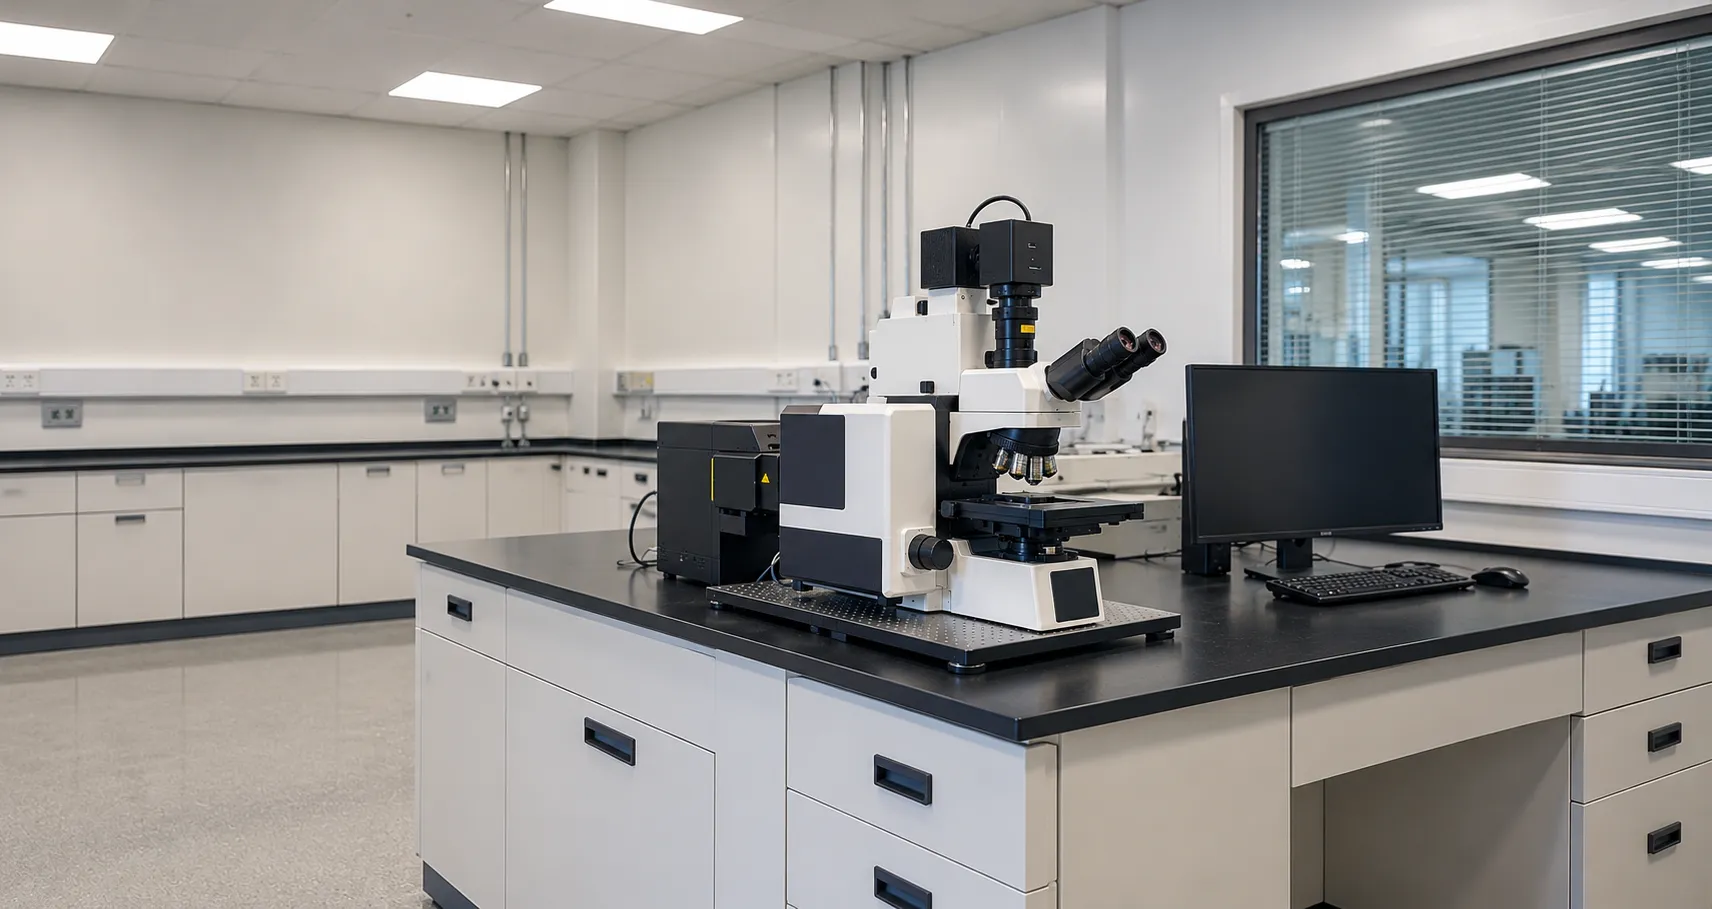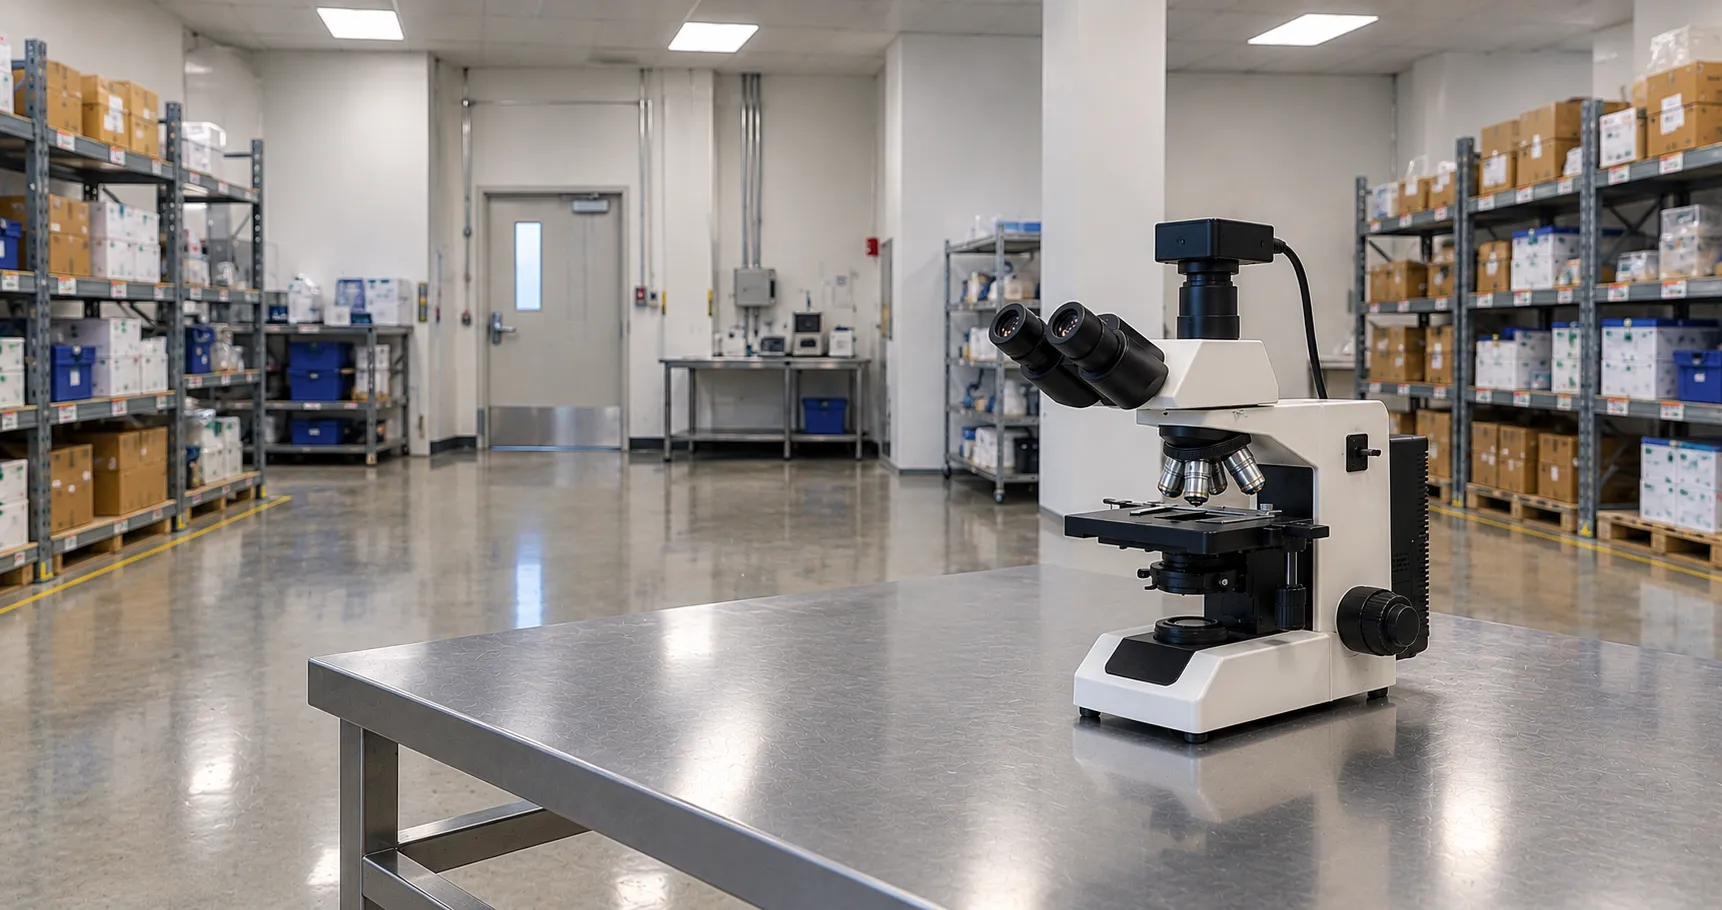


Fluorescence microscopy makes specific structures in a cell glow by tagging them with fluorophores, dye molecules that absorb one colour of light and emit another. The microscope shines excitation light on the specimen, blocks that light, and shows only the emitted glow, so labelled proteins, DNA or organelles stand out brightly against a dark background. It is the workhorse imaging method for immunofluorescence and cell biology in pathology and research laboratories.
This article covers conventional widefield fluorescence, the everyday form found on most laboratory microscopes. A sibling article covers confocal microscopy and its pinhole-based optical sectioning, so this article focuses on the fluorophores, filters, and epifluorescence design that make widefield imaging work.
How Fluorescence Produces the Glow
A fluorophore absorbs a photon at its excitation wavelength, which lifts an electron to a higher energy state. The electron loses a little energy as heat, then drops back and releases the remaining energy as a photon of longer wavelength. This shift to a longer wavelength between the light that goes in and the light that comes out is the Stokes shift, and it lets the microscope separate the faint emission from the intense excitation. Without that wavelength gap, the signal would be swamped.
The Epifluorescence Design
Almost all fluorescence microscopes are epifluorescence instruments, meaning the excitation light and the emission pass through the same objective. Light from the source reflects off a dichroic mirror, down through the objective onto the specimen; the objective then collects the emitted light, which passes back up through the dichroic to the eyepiece or camera. Sending excitation down through the objective, rather than through the sample from below, keeps most of the bright excitation light out of the detection path and is far more efficient for opaque or thick specimens.
The Filter Cube
The heart of the system is the filter cube, a holder combining three matched optical elements for a given fluorophore:
-
Excitation filter — passes only the band of wavelengths that excite the fluorophore and blocks the rest of the source spectrum.
-
Dichroic mirror (beamsplitter) — reflects the short excitation wavelengths down to the sample but transmits the longer emitted wavelengths back up.
-
Emission filter — passes the fluorophore emission band while blocking any stray excitation light, giving the clean, dark background.
Each fluorophore needs a cube tuned to its excitation and emission peaks, and microscopes carry several cubes on a turret so multiple labels can be imaged in sequence. Mismatched cubes commonly cause weak or bleeding-through signals.
Light Sources
Traditional systems used mercury or metal-halide arc lamps, which are bright across the ultraviolet and visible but require warm-up, alignment, and bulb replacement, and their output falls as they age. Declining illumination has largely replaced them: individual LEDs matched to common fluorophores switch on instantly, run cool, last for thousands of hours, and provide stable, reproducible intensity, which matters for quantitative measurements. For a new purchase, LED excitation is usually the sensible default.
Common Fluorophores and Labels
A handful of dyes cover most routine work. DAPI stains DNA and marks the nucleus in blue; fluorescein (FITC) and green fluorescent protein emit green; rhodamine, TRITC, and Cy3 emit orange-red; and Texas Red or Cy5 emits red. In immunofluorescence, antibodies conjugated to these dyes bind specific target proteinss,, so a multi-colour image can show, for example, the nucleus, cytoskeleton, and a protein of interest at once. Choosing dyes with well-separated emission colours reduces overlap and improves image quality
Fluorescence is light-starved, so objectives with high numerical aperture are preferred; fluorite and apochromat objectives also correct colour across the channels. Deion usually uses a sensitive monochrome camera, a scientific CMOS (sCMOS) or, for very dim samples, an EMCCD, because monochrome sensors are more sensitive than colour ones; the filter cube defines the true colour camera. Colours are assigned; software merges them.
Photobleaching and Its Limits
Fluorophores fade with prolonged excitation, an effect called photobleaching, and some are toxic to live cells under intense light (phototoxicity). Anti-fade mounting media, minimal exposure and LED sources that switch off between captures all help preserve signal. Another limitation of widefield fluorescence is that light from above and below the focal plane still reaches the detector, adding out-of-focus blur to thick specimens, which is precisely what optical sectioning is built to solve.
Building a Multi-Colour Image
Widefield fluorescence captures one fluorophore at a time. The turret rotates the matching filter cube into place, the camera records that channel in greyscale, and the process repeats for each label before software merges the channels into a composite. Getting a clean multi-colour image depends on controls: an unstained sample reveals background autofluorescence, and single-stain slides show whether one channel is bleeding,dyes pbleed poorly, or dyes separate poorly When colours are close, specWhen dyes are overlap isunavoidablee, so you mustadjust yours;sothat'ss why dyes with well-spaced be made; that'smission are preferred for multi-colour panels.
Sample Preparation and Coverslips
Image quality begins at the bench. In immunofluorescence,, thespecimen is fixed, permeabilised, and labelled with primary and dye-tagged secondary antibodies, then mounted in an anti-fade medium that slows photobleaching. Often overlooked detail: most high-performance objectives are corrected for a 0.17 mm coverslip (a number 1.5), and using the wrong thickness degrades sharpness, so a matched objective correction collar or the right coverslip grade matters. For live imaging, cells are kept in a suitable vessel and medium, and exposure is minimised to limit phototoxicity. Autofluorescence from fixatives such as glutaraldehyde, or from the mounting medium itself, can raise the background, so reagents are chosen with the fluorophores in mind.
Standards, Regulation and Settings
Where fluorescence microscopy supports diagnostic reporting, the instrument sits within a laboratory quality system, and the MRA can confirm its regulatory status for clinical use, guided by frameworks such as those from NICE. Consistent results depend on documented exposure settings, mthecondition of the D source o and correctlymatched filter cubes.
Procurement Checklist
Before buying a widefield fluorescence microscope, confirm the following:
-
Light source: LED excitation versus arc lamp, and whether the LED lines match the fluorophores you use.
-
Filter cubes for each fluorophore, correctly matched for excitation, dichroic and emission, plus spare turret positions.
-
Objective range and numerical aperture, with fluorite or apochromat correction for multi-colour imaging.
-
Camera: a sensitive monochrome sCMOS or EMCCD suited to the brightness of your samples.
-
Upright or inverted stand depending on whether you image slides or cells in culture vessels.
-
Software for channel merging, exposure control and image records, with any LIMS links.
-
Service and spares, including LED or bulb life and filter-cube availability.
Conclusion
Widefield fluorescence microscopy turns specific molecules into bright signals using fluorophores, a Stokes shift and a matched filter cube in an epifluorescence design. Specify it around the fluorophores you run, an LED source, high-NA objectives and a sensitive monochrome camera, and remember that thick-sample blur is where confocal takes over. Tocamerasa ans an,d cameas or, arrange a demonsion, contquirementsements through our buyer services.
Disclaimer
This article is for informational purposes only. It is published by MediGear (medigear.uk) for general information and procurement guidance. It is not clinical, diagnostic, technical, engineering, legal or regulatory advice, nor a product endorsement, guarantee or substitute for professional assessment. MediGear does not provide medical consultations. Buyers should consult their clinical, biomedical, estates and regulatory contacts, and the manufacturer's documentation, and independently verify all specifications, certifications, compatibility and suitability before purchase. Specifications, certifications and availability are correct at the time of publication and may change without notice. MediGear is a medical-equipment distributor and does not sell medicines or pharmaceutical products.