
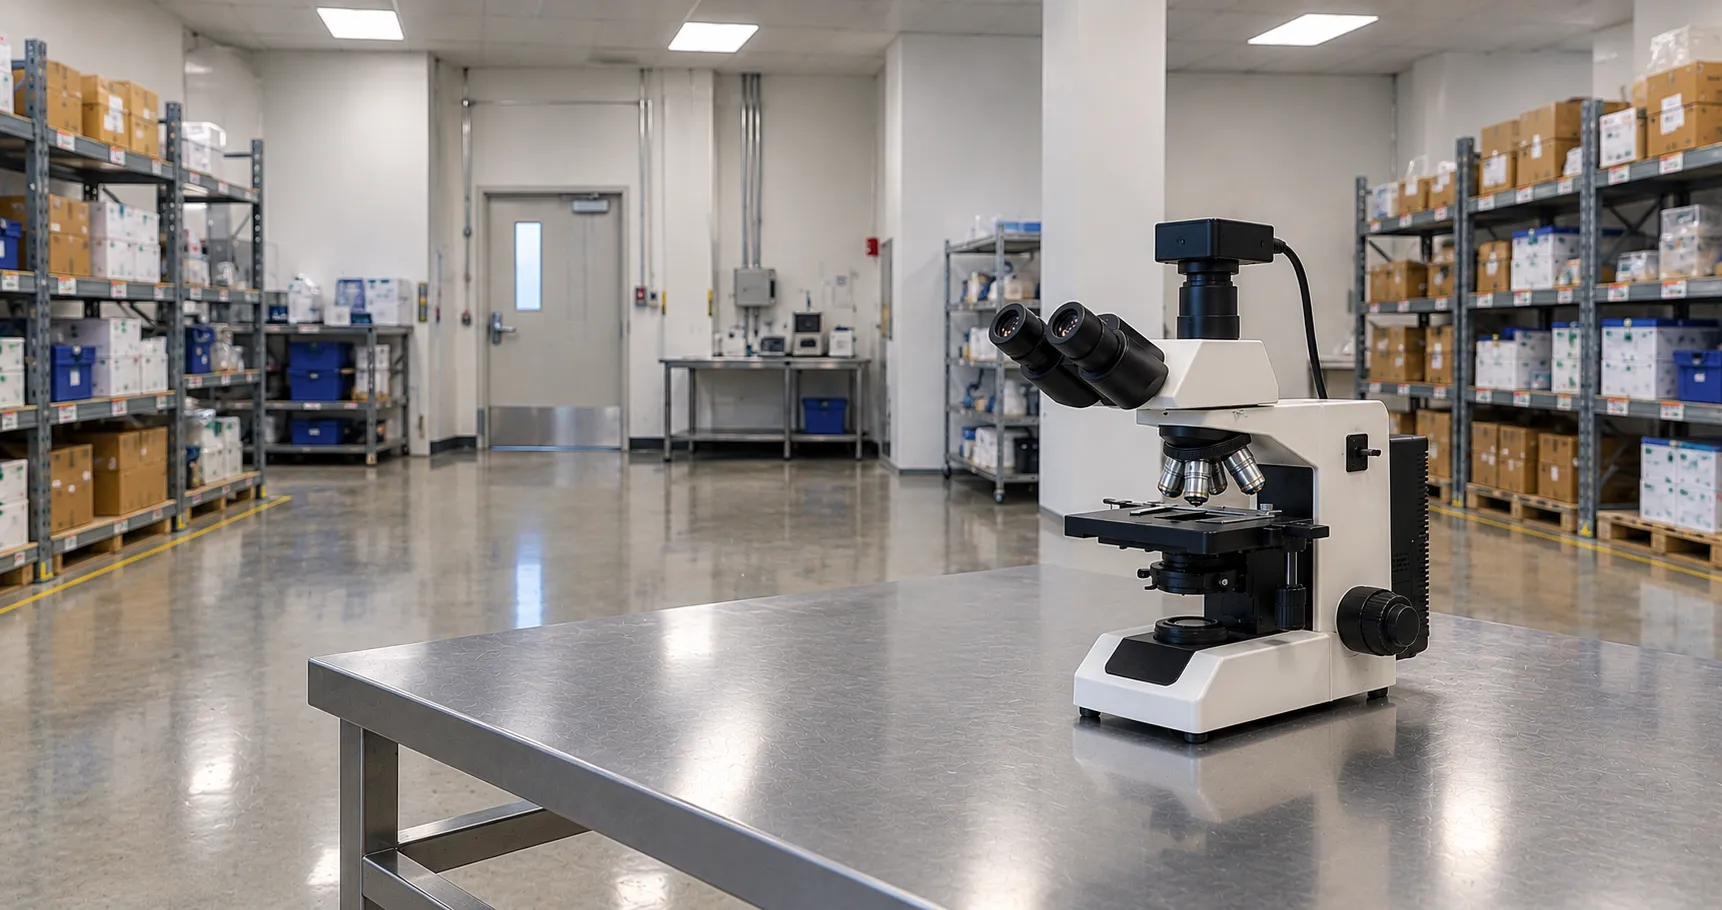
A phase contrast microscope reveals transparent, unstained specimens by converting the invisible phase shifts that light undergoes as it passes through them into visible differences in brightness. Living cells are almost colourless and barely absorb light, so under ordinary brightfield they are nearly invisible; phase contrast turns the tiny changes in refractive index within the cell into contrast the eye can see, without any dye. That makes it the standard way to observe live cell cultures and other unstained material.
This overview explains the optical trick behind phase contrast, the components that create it, the artefacts to expect, and what a laboratory should check when buying a phase contrast microscope or upgrading an existing stand.
Why Unstained Cells Are Hard to See
The eye and the camera detect differences in amplitude, that is, brightness and colour. A transparent cell absorbs almost no light, so it changes the amplitude very little. What it does change is the phase of the light: because the cell is optically denser than the surrounding medium, light passing through it is slowed and emerges shifted by a fraction of a wavelength relative to light that passed around it. That phase shift carries all the structural information, but the eye cannot see phase directly. Staining solves this by adding absorption, but staining usually kills or fixes the cell.
How Phase Contrast Works
Phase contrast, devised by Frits Zernike, makes phase differences visible by manipulating the light optically. The trick is to separate the light that passed straight through the specimen (undeviated) from the light that was diffracted by fine structures, then shift their relative phase by a quarter wavelength and recombine them. Once the two sets of waves are brought a quarter wavelength apart and allowed to interfere, the phase differences become amplitude differences: denser regions appear darker (or brighter) than their surroundings, and structure appears.
The Key Components
The condenser annulus
A ring-shaped aperture in the condenser produces a hollow cone of illumination, so the specimen is lit only by a ring of light.
The phase plate in the objective
The matching objective contains a phase ring that sits exactly where the undeviated ring of light is imaged. This ring shifts the phase of the undeviated light by a quarter wavelength and usually dims it as well, so that when it recombines with the diffracted light the interference produces strong contrast.
Matching the two
The condenser annulus and the objective phase ring must be the same size and precisely aligned. Objectives are marked Ph1, Ph2 or Ph3, and the condenser turret carries a corresponding annulus for each, so a 10x Ph1 objective is used with the Ph1 annulus. Alignment is checked by removing an eyepiece and looking down the tube, or with a Bertrand lens or phase telescope, and adjusting until the bright annulus overlaps the dark phase ring.
Positive and Negative Phase Contrast
Most laboratory microscopes use positive phase contrast, where regions of higher refractive index appear darker than the background, which looks natural for cells against a lighter field. Negative phase contrast reverses this, making dense structures brighter than the background, and is used for particular specimens. The distinction is set by the phase plate, so it is fixed by the objective chosen.
Artefacts to Expect
Phase contrast has two characteristic artefacts a viewer must learn to read. The halo is a bright rim around objects, caused by some diffracted light passing through the phase ring; it can obscure fine detail at edges. Shade-off is a gradual change in brightness across large uniform features, so the centre of a big flat object can look different from its edge. Apodised phase plates reduce halo, and awareness of both effects prevents them being mistaken for real structure. These artefacts are why phase contrast excels at thin specimens such as cultured cell monolayers rather than thick tissue.
Where Phase Contrast Is Used
The main application is live-cell work: checking the confluence, morphology and health of cell cultures on an inverted microscope, where staining would be destructive. It is also used for unstained microbiology and mycology, for examining wet preparations, and in andrology for assessing motile sperm. Because it needs no dye, it is quick and non-destructive, which suits routine culture monitoring. For thicker or more three-dimensional detail, differential interference contrast (DIC) is an alternative, while brightfield remains standard for stained sections.
Upright, Inverted and Compatibility
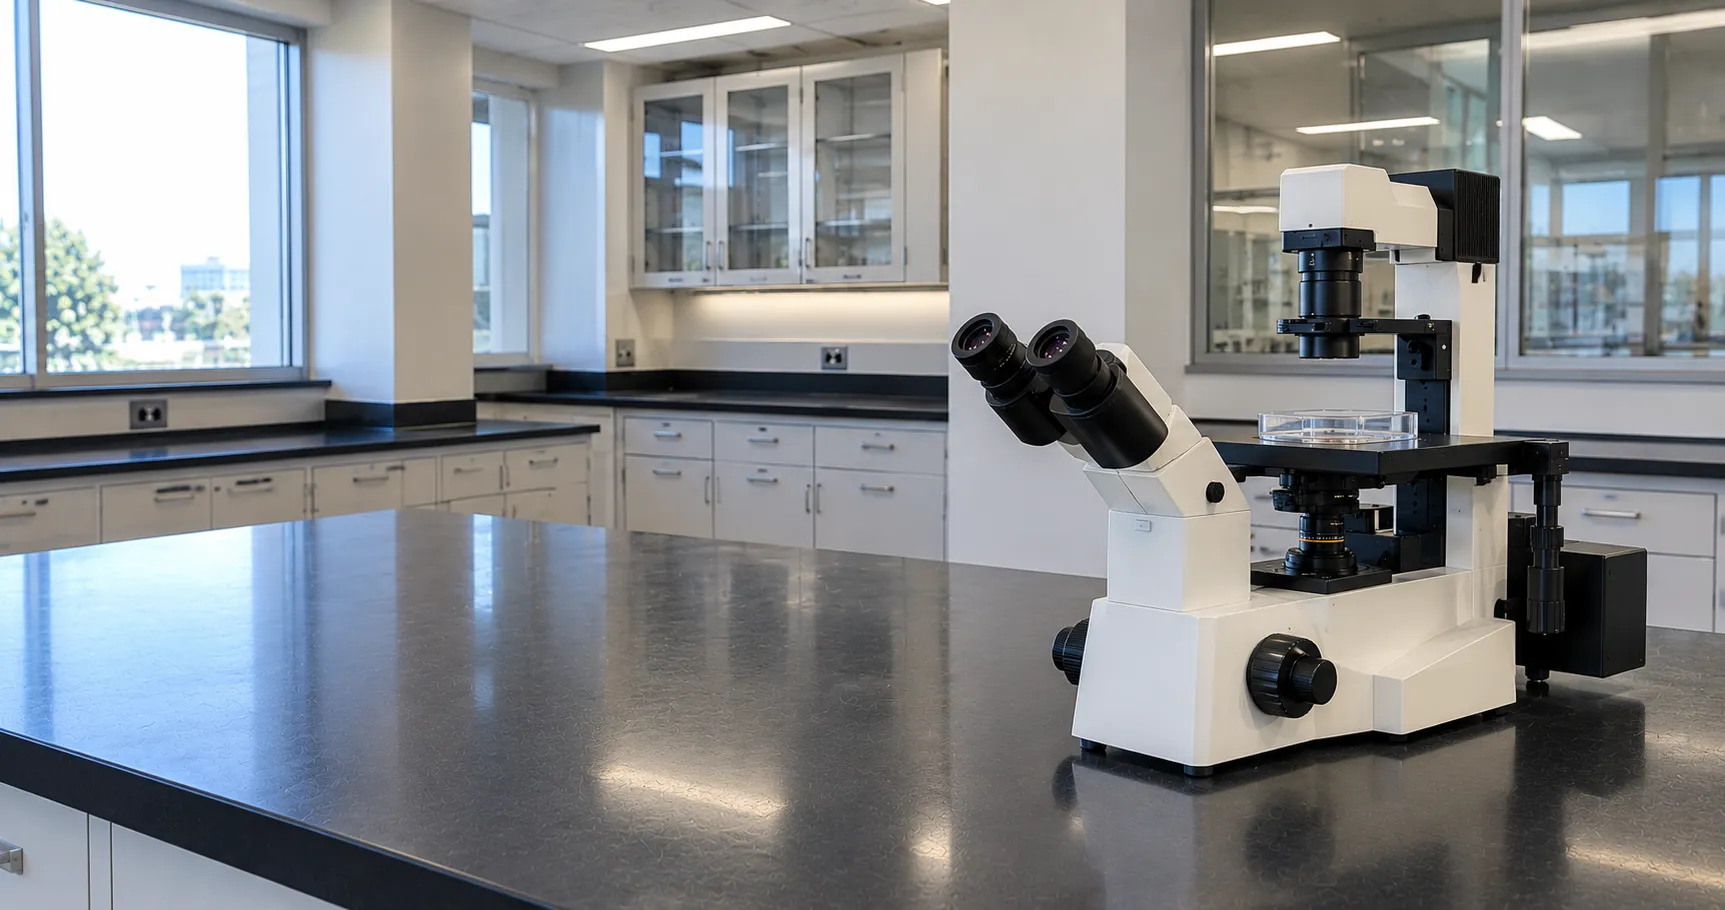
Cell-culture laboratories use inverted phase contrast microscopes so the objective looks up at cells growing on the bottom of a flask or dish through the culture medium. Longer working-distance condensers cope with the depth of culture vessels, and special phase optics correct for imaging through plastic. When adding phase contrast to an existing microscope, the objectives, the phase condenser and the annuli must all be from a compatible set, so check that the stand can take a phase condenser before assuming an upgrade is simple.
Setting Up Köhler Illumination
Phase contrast only works well on a properly set-up microscope, and the prerequisite is Köhler illumination, which gives even, glare-free lighting. The operator focuses the specimen, closes and focuses the field diaphragm, centres it, then opens it to the field edge, so the condenser is correctly positioned. Only then is the phase ring aligned: with a Bertrand lens or phase telescope the bright condenser annulus is centred over the dark objective phase ring for the objective in use. If the microscope is not first set for Köhler illumination, or the rings are off-centre, contrast falls away and structure is lost, so this alignment is a routine step rather than a one-off.
Magnification and Objective Choice
The objectives on a phase set define what the technique can show. Culture monitoring typically uses low and medium powers, a 4x or 10x for scanning a flask and a 20x for morphology, while finer cellular detail needs a 40x. Each power needs its own matched annulus, so a full working set covers the magnifications actually used rather than a single objective. Long working distance is essential on inverted stands to reach cells through the base and medium of a vessel, and where higher resolution matters, the numerical aperture of the objective sets the limit.
Standards, Regulation and Quality
Where a phase contrast microscope supports diagnostic or fertility work, it sits within the laboratory quality system, and the electrical safety of the stand follows the relevant laboratory-equipment standards. Instruments used in a diagnostic pathway can be checked for regulatory status through the MHRA, with clinical practice informed by guidance such as that from NICE. Consistent results depend on correct annulus-to-objective matching and regular alignment checks.
Procurement Checklist
Before buying a phase contrast microscope, confirm the following:
-
Upright or inverted stand, matched to whether you image slides or cells in culture vessels.
-
Matched phase set: objectives (Ph1, Ph2, Ph3) with a condenser carrying the corresponding annuli.
-
Positive or negative phase contrast for your specimens, and apodised optics if halo is a concern.
-
Working distance and condenser suited to the depth of your culture flasks or dishes.
-
Objective correction and magnification range for the detail and field you need.
-
Alignment tools such as a Bertrand lens or phase telescope, and ease of centring.
-
Camera and software if images are recorded, plus service and spares support.
Conclusion
Phase contrast microscopy makes unstained, living specimens visible by turning refractive-index differences into brightness, using a condenser annulus and a matched objective phase ring. Specify it around an upright or inverted stand, a properly matched phase set and the working distance your vessels demand, and learn to read halo and shade-off. To compare inverted culture microscopes and phase objective sets or arrange a trial, contact the MediGear team or outline your needs through our buyer services.
Disclaimer
This article is for informational purposes only. It is published by MediGear (medigear.uk) for general information and procurement guidance, and is not clinical, diagnostic, treatment, technical, engineering, legal or regulatory advice, nor a product endorsement, guarantee or substitute for professional assessment. MediGear does not provide medical consultations. Buyers should consult their clinical, biomedical, estates and regulatory contacts, and the manufacturer's documentation, and independently verify all specifications, certifications, compatibility and suitability before purchase. Specifications, certifications and availability are correct at the time of publication and may change without notice. MediGear is a medical-equipment distributor and does not sell medicines or pharmaceutical products.