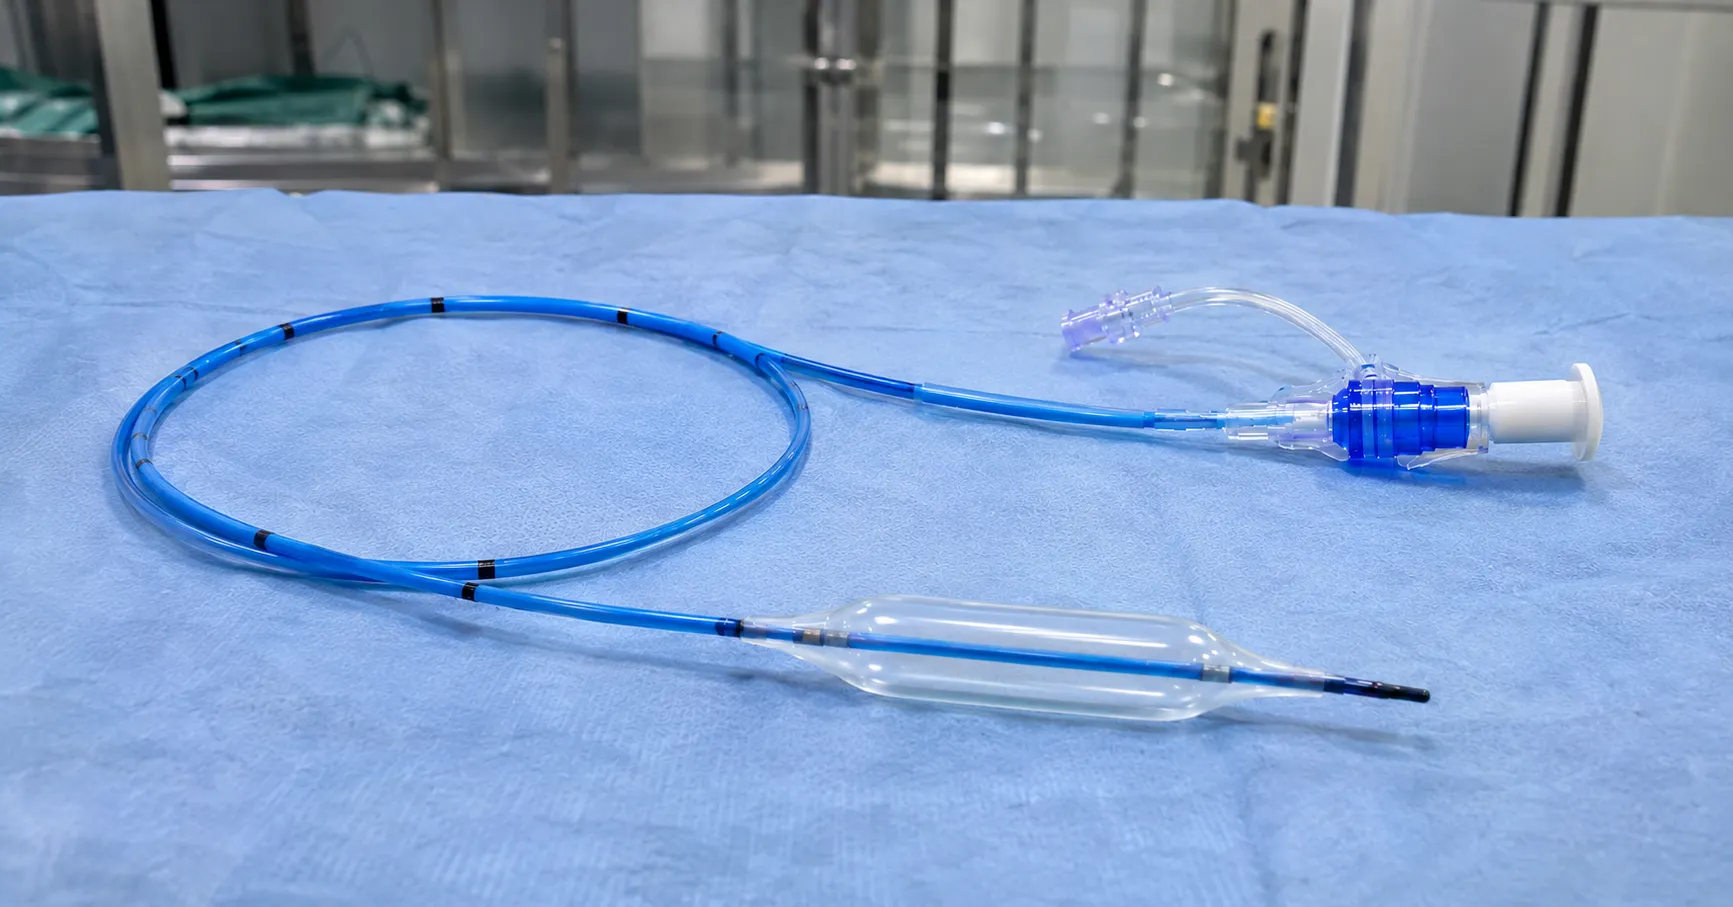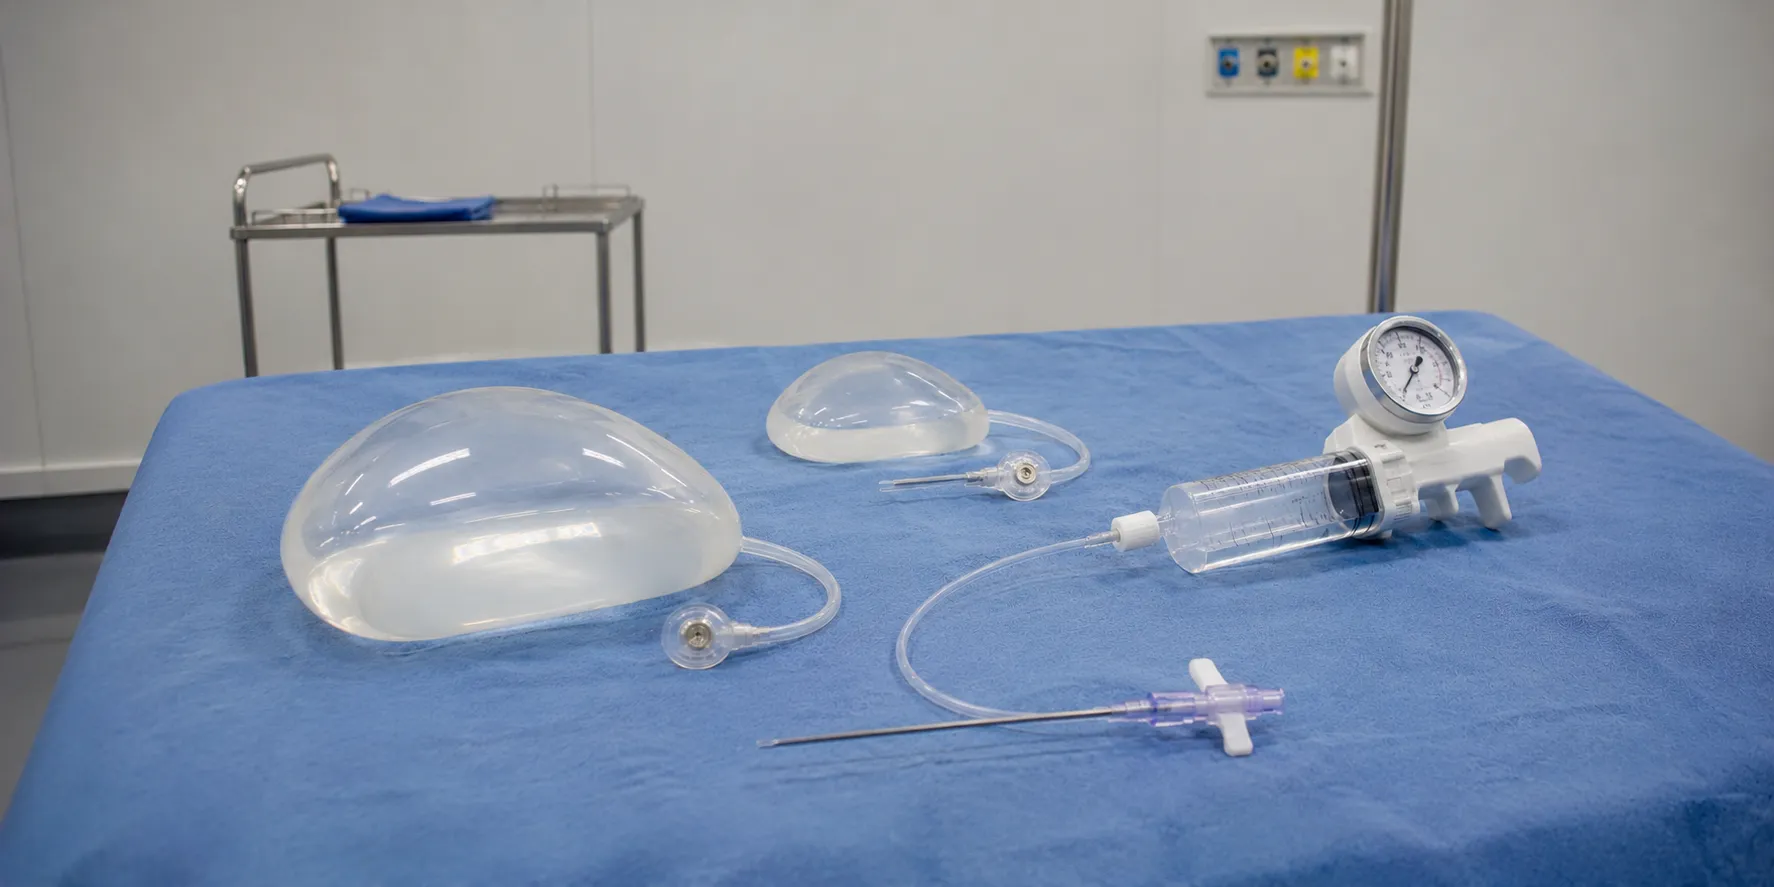

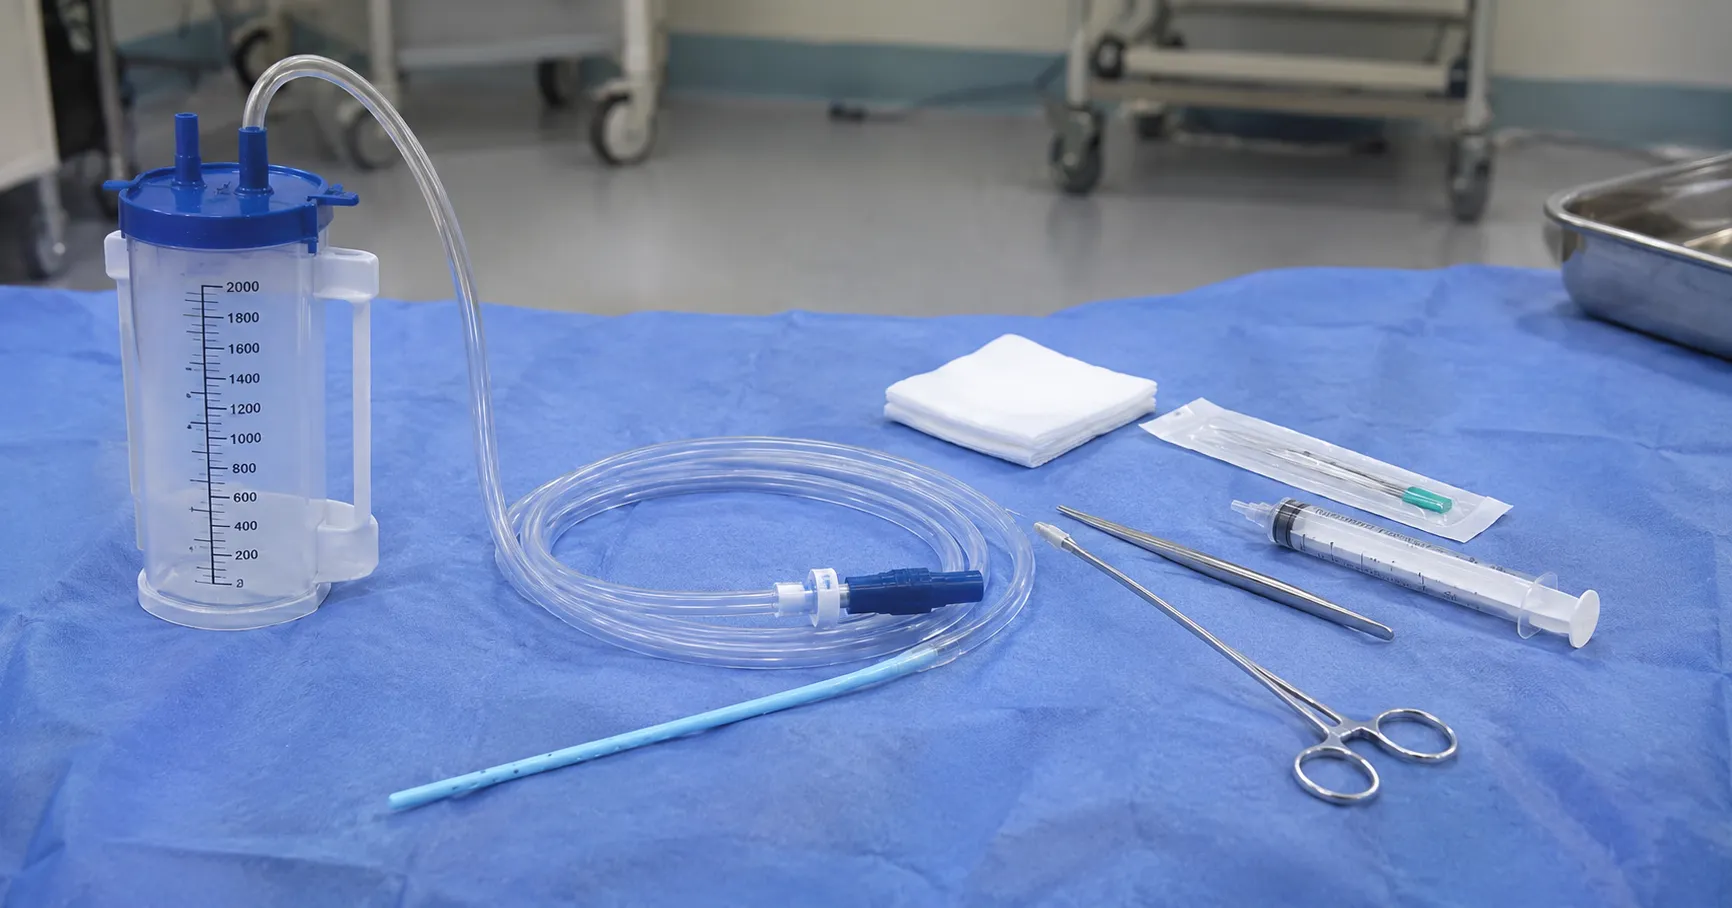
Chest drain insertion is the procedure of placing a tube into the pleural space, the potential gap between the lung and the chest wall, to drain air, blood, or fluid that prevents the lung from expanding. The tube is then connected to a drainage system that lets the unwanted contents out while preventing air from being drawn back in. It is one of the more common bedside and theatre procedures in acute and thoracic care, and it demands careful technique because the space sits close to the lung, heart and major vessels.
This article describes why and how a chest drain is inserted and the safeguards involved. It is written for procurement and clinical-engineering readers who need to understand the procedure well enough to specify the insertion kits that support it, not as a how-to for performing it.
Why a chest drain is inserted
Common indications include pneumothorax, where air has entered the pleural space and collapsed part of the lung; haemothorax, where blood has collected, often after trauma; a large pleural effusion or empyema, where fluid or pus must be removed; and routine drainage after thoracic surgery. A tension pneumothorax, in which trapped air progressively squeezes the heart and lung, is a life-threatening emergency that needs immediate decompression. The clinical picture dictates the urgency, the tube size and whether a small-bore or large-bore drain is chosen.
Insertion techniques
Seldinger technique
Small-bore drains: Clinicians commonly place small-bore drains using the Seldinger method. A needle is used to enter the pleural space, a guidewire is passed through it, the needle is withdrawn, and a series of dilators is then railroaded over the wire. This wire-guided approach is well suited to draining air and thin fluid, is comparatively atraumatic and is widely used for spontaneous pneumothorax and simple effusions.
Open surgical (blunt dissection) technique
Large-bore drains, used for blood, thick fluid or pus, are usually placed by open dissection. After local anaesthetic, a small incision is made, and blunt forceps spread the tissues down to and through the pleura, creating a track along which a finger sweep confirms entry and clears adhesions before the tube is guided in without any sharp introducer. The blunt approach lets the operator feel their way into the space, which is why it is preferred where a rigid trocar would be hazardous.
The trocar caution
Some drains are supplied with a sharp internal trocar to stiffen the tube during insertion. Driving a drain in on a sharp trocar has been associated with injury to the lung, heart and great vessels, and guidance strongly discourages forceful trocar insertion in favour of the controlled Seldinger or blunt-dissection routes. Buyers should understand this when specifying kits, since the presence of a trocar does not make it the recommended technique.
The triangle of safety
To avoid vital structures, drains are normally sited within the triangle of safety: bounded in front by the lateral edge of the pectoralis major, behind by the anterior edge of the latissimus dorsi, and below by a horizontal line at about the level of the nipple, with the apex below the axilla. Entering here keeps the tube clear of the heart, the internal structures of the mediastinum and the muscle bulk that lies more posteriorly. Insertion just above a rib avoids the neurovascular bundle that runs under each rib.
Securing and connecting the drain
Once in place, secure the tube to the chest wall with a suture and an occlusive dressing so it cannot slip in or out, and connect it to a drainage system that acts as a one-way valve, classically an underwater seal. A rise and fall of the fluid column with breathing (swinging) and bubbling on coughing confirm the system is working. Correct connection is as important as insertion, because a disconnected or wrongly clamped drain can itself cause harm.
Complications and safeguards
Recognised risks include bleeding, injury to the lung or abdominal organs if the drain is placed too low, incorrect tube position, infection and re-expansion problems when a large volume is drained too quickly. Ultrasound guidance is increasingly used to confirm the presence and depth of fluid before insertion, mark the entry point, reduce the chance of hitting an organ, and check the tube's position afterwards. Draining a very large effusion slowly, rather than all at once, lowers the risk of re-expansion pulmonary oedema. These safeguards, along with trained operators working to a checklist and a properly stocked, consistent kit, make the procedure safe.
Choosing tube size for the job
Tube diameter is one of the biggest practical decisions, and it flows directly from what is being drained. Air alone, as in a simple pneumothorax, moves readily through a small-bore drain, so a fine wire-guided tube is usually enough and is far more comfortable for the patient. Blood and thick pus are a different problem: they clot and clog, so a haemothorax or an empyema has traditionally called for a larger-bore tube that resists blockage, placed by open dissection. The trade-off is comfort and ease of insertion against the ability to clear viscous contents without the drain silting up.
Practice has shifted toward smaller tubes where the evidence supports them, including for many effusions and some cases once thought to need large drains, b. Still, the principle for buyers is unchanged: the store must cover the full range so clinicians are never forced to use the wrong size. Stocking a spread of small-bore Seldinger drains alongside large-bore options, with the right introducers for each, means the technique can follow the clinical picture rather than whatever tube happens to be on the shelf.
What this means for insertion kits
A well-designed insertion pack brings together the drain, the introducer appropriate to the technique, local anaesthetic, scalpel, dilators or blunt forceps, suture, connector and dressing in one sterile tray, so nothing is missing at the point of care. Buyers should choose Seldinger or open kits to match how their clinicians work, confirm the drain sizes stocked cover both small-bore and large-bore needs, and ensure connectors mate with the drainage units in use. Training and familiarity are supported by keeping kit configurations consistent across the trust, so a clinician opening a pack at night finds the same layout every time. For guidance on safe device use, the MHRA issues alerts, and bodies such as NICE.
P set clinical standards procurement checklist
-
Match kit type, Seldinger wire-guided or open blunt-dissection, to your clinicians' practice.
-
Stock both small-bore and large-bore drains for air, fluid, blood and pus.
-
Confirm the kit contains anaesthetic, scalpel, dilators or forceps, suture, connector and dressing.
-
Check that drain connectors mate with the thoracic drainage units in use.
-
Prefer configurations that discourage forceful sharp-trocar insertion.
-
Verify UKCA or CE marking, sterile packaging and clear instructions for use.
-
Keep kit layouts consistent across sites to support training and safe use.
Conclusion
Chest drain insertion is a high-stakes procedure that turns on choosing the right technique, staying within the triangle of safety and securing the tube to a reliable one-way drainage system. For a buyer, understanding this means specifying sterile insertion kits that match clinician practice, cover the full size range, and connect cleanly to drainage units. MediGear can help acute and thoracic services standardise safe, complete insertion kits; register as a buyer or contact the team through the contact page.
Disclaimer
This article is for informational purposes only. It is published by MediGear (medigear.uk) for general information and procurement guidance. It is not clinical, diagnostic, treatment, technical, engineering, legal or regulatory advice, nor a product endorsement, guarantee or substitute for professional assessment. MediGear does not provide medical consultations. Buyers should consult their clinical, biomedical, estates and regulatory teams, and he manufacturer's documentation, and independently verify all specifications, certifications, compatibility, and suitability before purchase. Specifications, certifications and availability are correct at the time of publication and may change without notice. MediGear is a medical-equipment distributor and does not sell medicines or pharmaceutical products.