
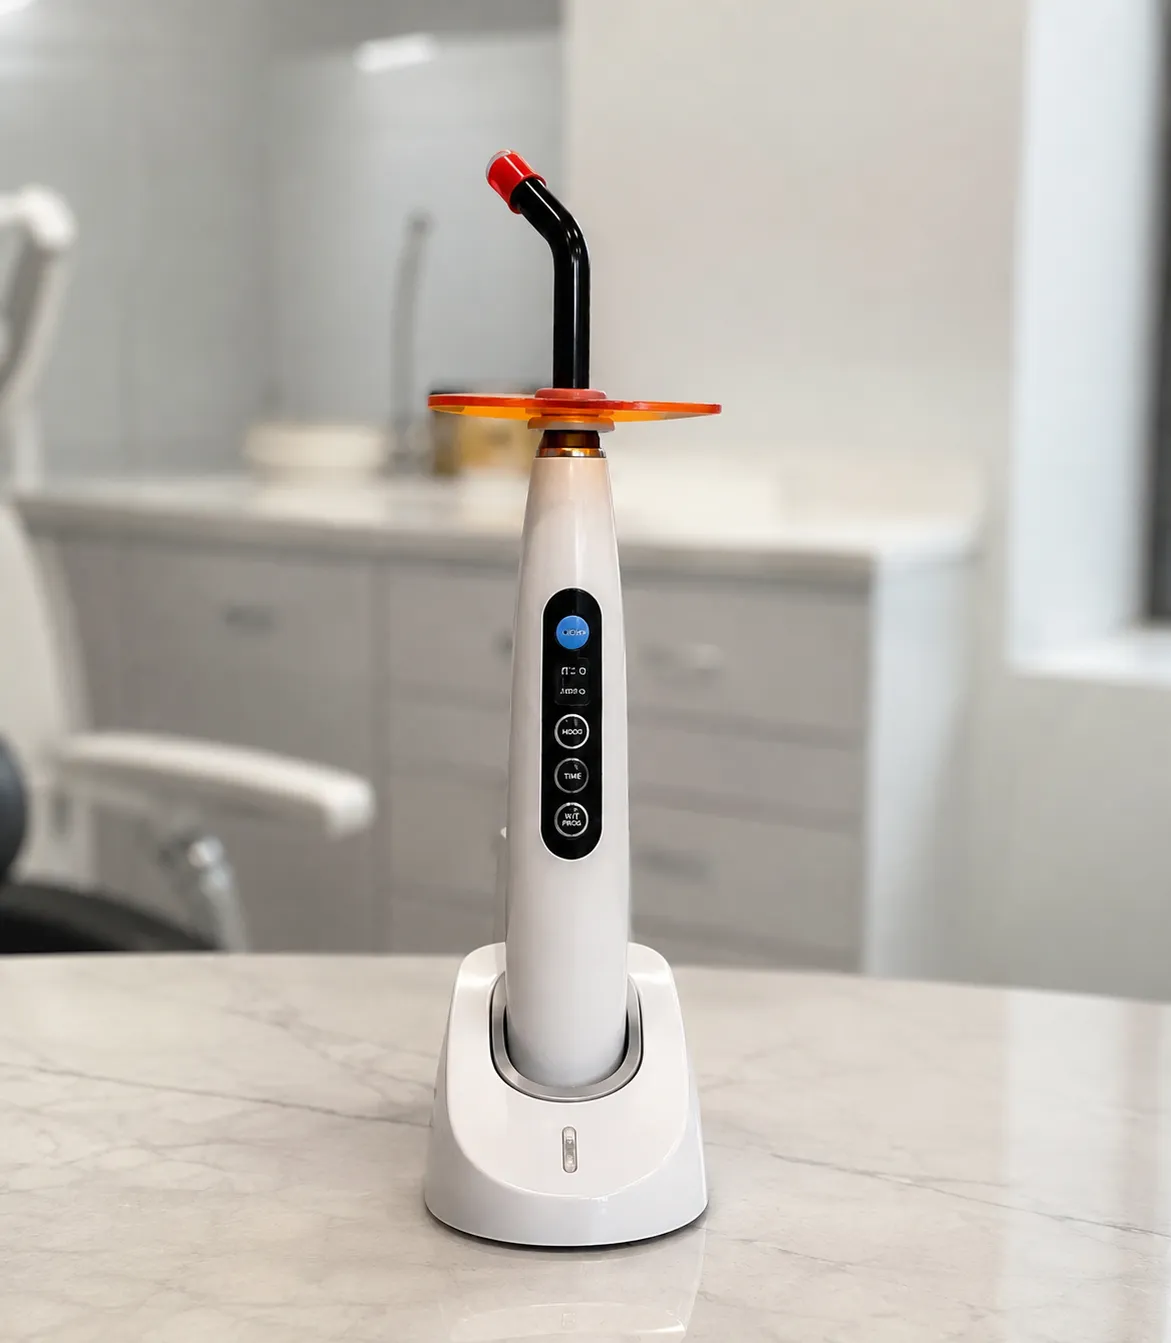
A curing light hardens light-activated dental materials, and its performance directly affects the result of restorative work. An underperforming light produces inadequately cured material, which is why output, wavelength and how output is verified matter more than appearance. For a practice, the practical questions concern the light's output range, the wavelengths it emits, tip access, and how output is checked over time.
The ten light types below cover general restorative and specialist use. Each entry explains its role and what to confirm before purchase.
Wavelength, output and material compatibility
Dental: Particular wavelengths activate dental materials; not all materials respond to a single narrow wavelength. Lights emitting a broader or multiple wavelength range work with a wider range of materials, so the wavelength output should be matched to the materials the practice uses.
Output determines effective curing, and it must be adequate and consistent across the tip. What matters is not a single headline figure but reliable, verified output, since output can decline with use and a light that has drifted produces poorly cured material without any obvious sign.
The ten light types
1. Standard cordless LED curing lights
Battery-powered handheld lights for general restorative use, the common configuration in most surgeries.
2. Corded LED curing lights
Mains-powered lights avoiding battery management, suited to high-use settings. Confirm cable handling.
3. Broad-spectrum curing lights
Emit a broader wavelength range compatible with a wider range of materials, useful where varied materials are used.
4. Lights with multiple curing modes
Offer modes such as standard and stepped curing, giving the clinician control over how material is cured.
5. Lights with output verification features
Include a means of checking output, or pair with a radiometer, so declining output is detected. An important reliability feature.
6. Lights with different tip sizes
Provide tips of varying size for access and coverage, matching the tip to the restoration.
7. Lights with rotating or angled tips
Offer tips that angle or rotate for access to posterior and awkward areas.
8. Lights with barrier-compatible designs
Suit single-use barrier sleeves for infection prevention. Confirm barrier supply and that it does not impede output.
9. Lights with autoclavable tips
Use reusable tips reprocessed between patients. Confirm the reprocessing method and tips held.
10. Lights within combined units
Form part of a combined restorative unit or system, suited to practices wanting integration.
Output verification, access and the restoration
Verifying output is the single most important ongoing task with a curing light, because a light that has weakened produces poorly cured material with no visible warning. A means of checking output, whether a built-in or a built-in radiometer, and a routine for using it to protect the quality of restorative work should be part of the decision and the practice's routine from the start. Tip access matters for reaching restorations, particularly posterior and awkward areas, so the tip size and angle should suit the work. Curing technique, including how the light is held and the time, affects the result as much as the light itself, so the clinician's use of the light and the manufacturer's guidance for the materials in use both matter.
What to confirm before ordering
-
Wavelength. Confirm the wavelength range suits the materials the practice uses.
-
Output. Establish adequate, consistent output across the tip.
-
Verification. Confirm how output is checked and a routine for doing so.
-
Tip access. Check tip sizes and angles for the related restorations
-
Hygiene. Verify barrier sleeves or autoclavable tips and their supply.
-
Power. Establish cordless battery life or corded operation.
Output routine, hygiene and servicing
A routine of checking output protects restorative quality, and it should be built into the practice's procedures rather than left to chance, since declining output is otherwise invisible. Record checks so a weakening light is caught.
Hygiene centres on the tip and the light contacting the working area, managed by single-use barriers or reprocessing, with a routine that is explicit and consistently followed.
For servicing, agree output verification, battery replacement for cordless lights, tip maintenance and electrical safety testing, since output and batteries decline with use. Ensure the practice receives MHRA-published alerts so that any field safety notices reach the dental team.
Wavelength should match the materials in use, and output verification should be built into the routine. Practices comparing lights can check options with approved equipment suppliers.
Final thoughts
Choose the curing light based on wavelength, output, and how the output is verified, matching it to the materials the practice uses and the restorations it treats. Most practices: a light best serves most practices' wavelength range, dependable output, a verification routine built in, and tip hygiene atip-hygiene
This article provides general procurement guidance for dental practices and healthcare organisations. It is not clinical or dental advice, and it does not replace manufacturer instructions or professional judgement.