
Defibrillator readiness is a systems problem as much as an equipment one. A department can have excellent devices and still fail a resuscitation because pads expired, a battery was flat, or the team encountered an unfamiliar interface. Choosing the right mix of devices, and standardising where it counts, does more for outcomes than any single specification.
The ten device types below cover emergency department, resuscitation trolley and pre-hospital handover needs. Each entry sets out the purpose and the practical questions to settle before purchase.
What readiness actually requires
Three things must hold at any hour. The device must be charged and self-tested. The correct pads must be attached or immediately available and up to date. And the person reaching for it must recognise the interface without hesitation.
That third point is why standardisation matters so much. A department running four different manual defibrillators across resus, majors and the wards creates avoidable delay. Where full standardisation is not possible, at least keep pad connectors and energy selection behaviour consistent.
The ten defibrillator types
1. Manual defibrillators
Operated by trained clinicians who interpret the rhythm and select energy. These are the standard device for resuscitation areas, and they normally include monitoring, pacing and synchronised cardioversion.
2. Automated external defibrillators
Analyse the rhythm and prompt the user through voice and visual instructions. They suit public areas, outpatient departments and non-clinical spaces where trained resuscitation staff may not be immediately present.
3. Semi-automatic devices
Analyse the rhythm but require the operator to confirm the shock. Widely used where staff have basic life support training but not rhythm interpretation competence.
4. Dual-mode defibrillators
Switch between automated and manual operation on the same device. Useful in mixed-competence environments, though clear local policy is needed on who uses which mode.
5. Defibrillators with integrated monitoring
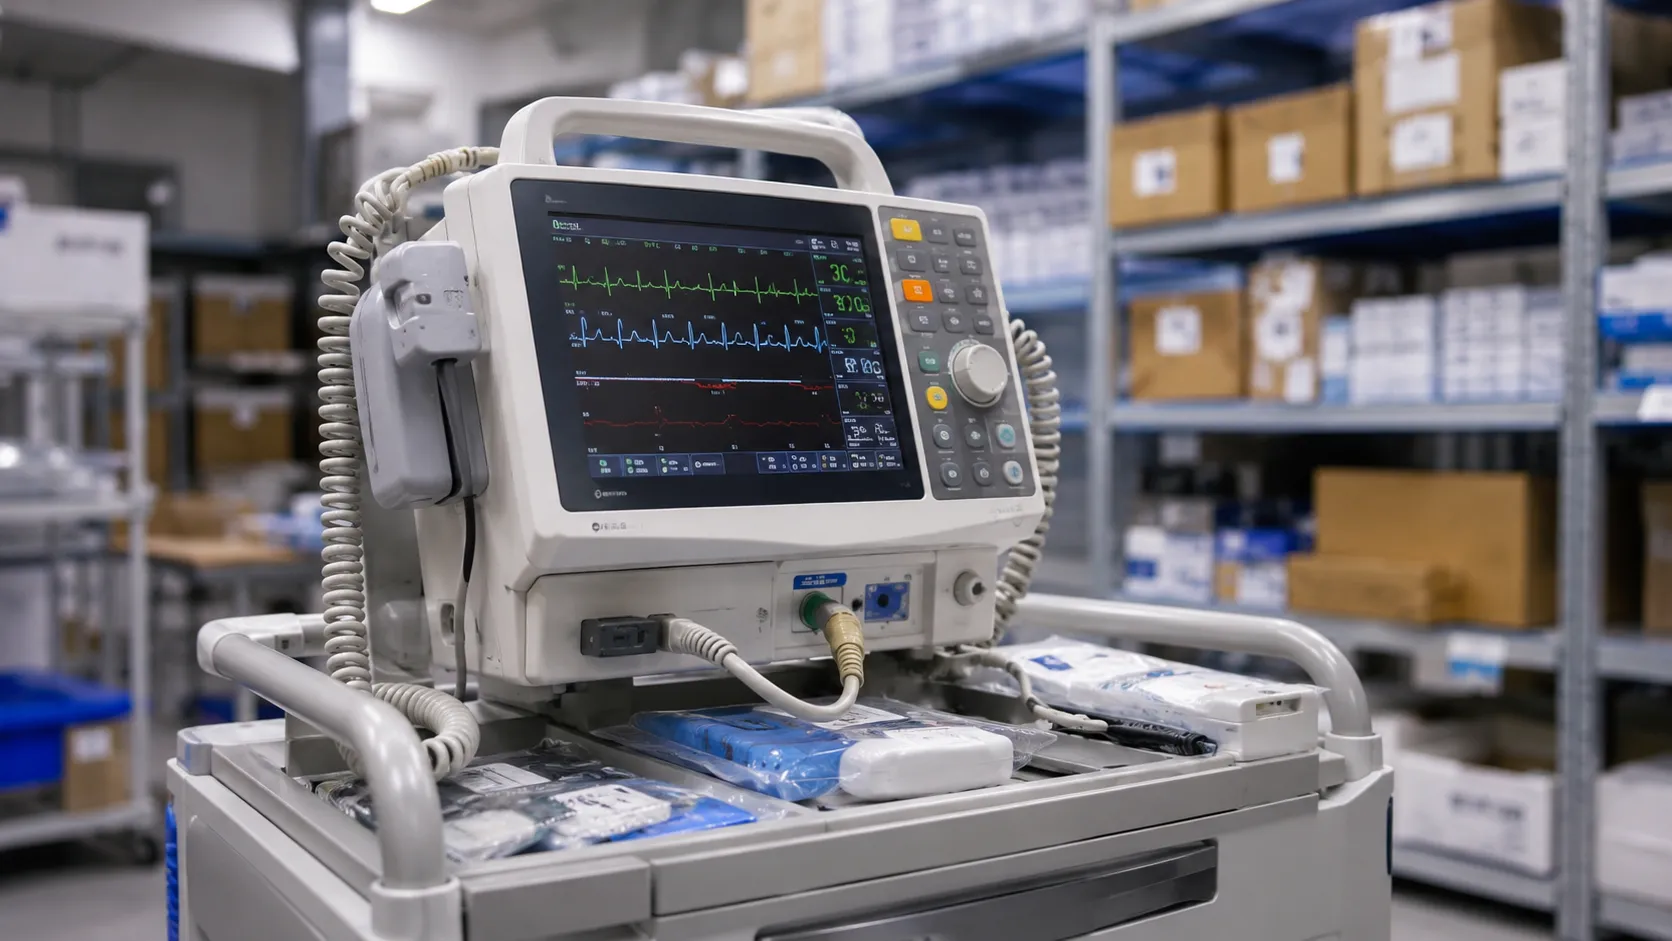
Combine defibrillation with multiparameter monitoring to provide continuous observation during and after resuscitation. These reduce equipment handovers in resus bays.
6. Devices with external pacing
Provide transcutaneous pacing alongside defibrillation, supporting patients with significant bradycardia. Confirm pacing output range and pad compatibility, as pacing pads are not always interchangeable.
7. Transport and pre-hospital defibrillators
Built to tolerate movement, temperature variation and rough handling. Weight, battery endurance and mounting compatibility with trolleys and vehicles decide suitability more than feature count.
8. Paediatric-capable defibrillators
Support reduced energy delivery through paediatric pads or an attenuator, with appropriate settings. Confirm how energy reduction is achieved and whether the correct pads are stocked in every location.
9. Defibrillators with CPR feedback
Measure compression depth and rate, prompting the team during resuscitation. The sensor is a consumable in most systems, so confirm supply arrangements.
10. Training defibrillators
Non-shocking units that mirror the live device interface for teaching. Matching the training unit to the clinical device is the point; a generic trainer teaches the wrong muscle memory.
Consumables, batteries and data
-
Pad compatibility. Establish whether pads are shared across your fleet, and check expiry management arrangements.
-
Battery type. Confirm whether the batteries are rechargeable or single-use, their expected service life, a nd how their status is displayed.
-
Self-test behaviour. Ask what the device tests automatically, how failures are indicated and whether alerts can be seen at a glance.
-
Data export. Confirm how event data is retrieved for clinical review and audit, and whether software or a licence is required.
-
Accessory stock. Pacing pads, CPR sensors, and paediatric attenuators all require a defined stock level for each location.
Training, checks and servicing
Daily or shift-based readiness checks should be documented, covering charge status, pad expiry, cable condition and self-test result. Keep the check simple enough that it is actually completed every time.
Training should use a device that matches the clinical unit, and be refreshed rather than treated as a one-off induction. Include the less obvious tasks: changing a battery under pressure, connecting pacing, switching modes and retrieving data afterwards.
On servicing, agree planned maintenance intervals, energy delivery verification, electrical safety testing and battery replacement cycles. Confirm spare parts availability and support life in writing, and ensure the department receives published medical device safety alerts so that field safety notices are acted upon.
Final thoughts
Build the estate around use, not features. Resuscitation areas need manual devices with monitoring and pacing; general and public areas are usually better served by automated units; transport needs a robust, well-mounted device. Keep pads and interfaces as consistent as your replacement programme allows, and put readiness checks on a documented routine.
This article provides general procurement guidance for healthcare organisations. It is not clinical or resuscitation advice, and it does not replace manufacturer instructions, resuscitation training or local policy.