

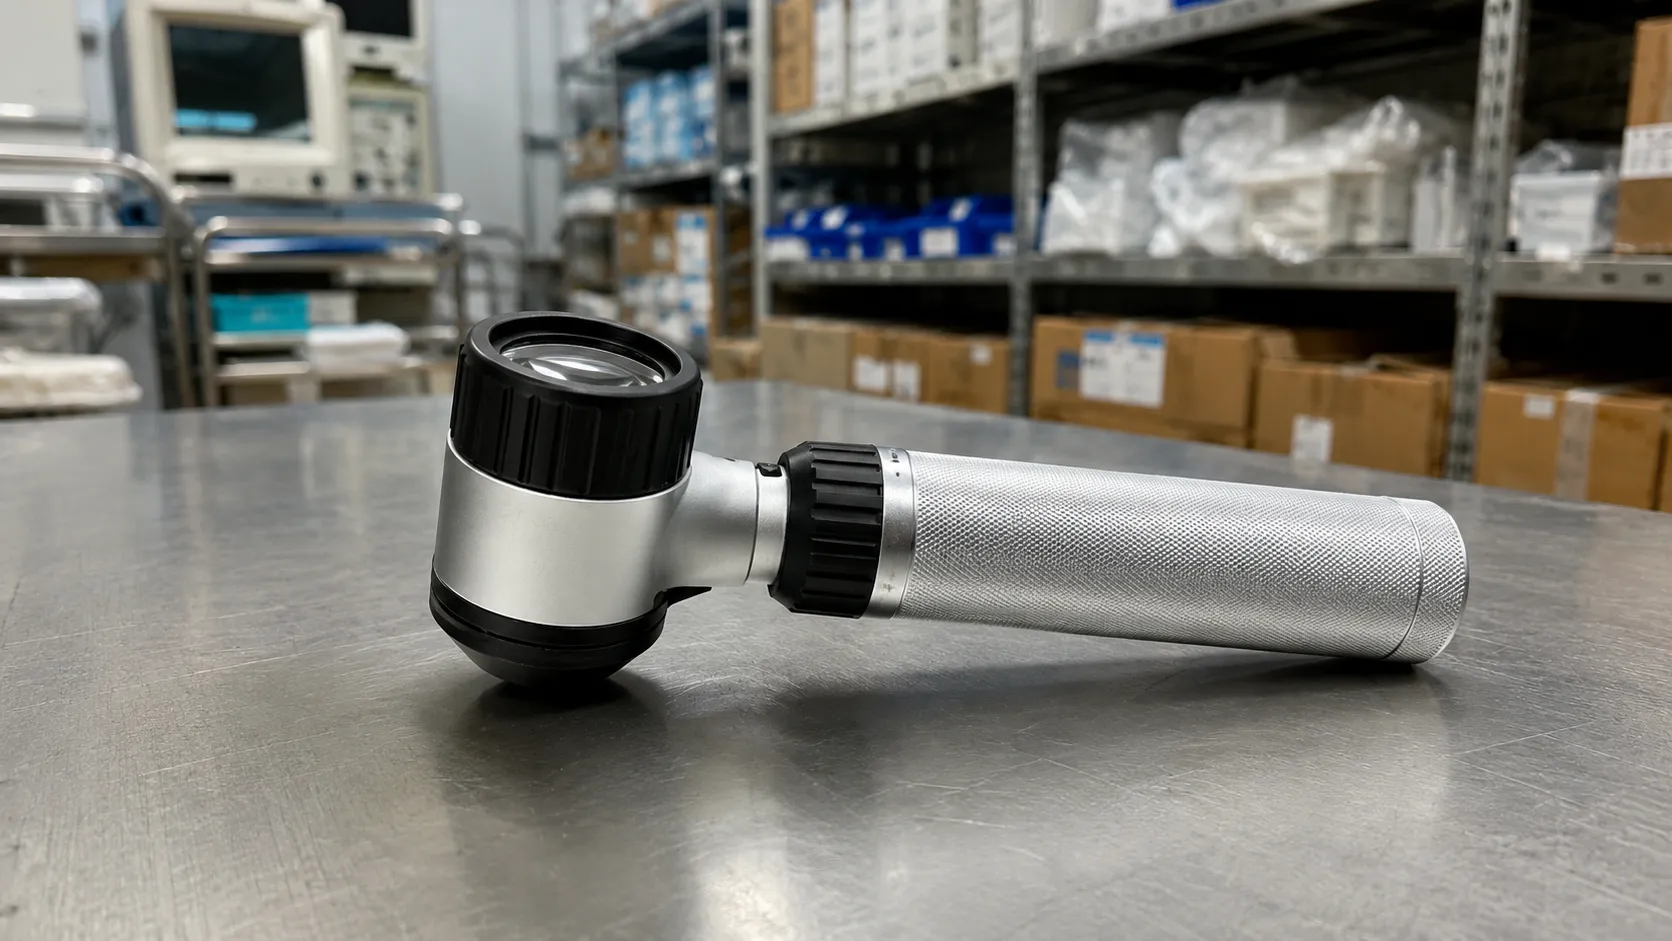
Dermoscopy changes what a clinician can see, but only if the instrument suits the way the clinic works. A device that needs contact fluid on every lesion slows a high-volume list. One without image capture leaves the clinician describing findings in words, whereas a photograph would have accompanied the referral.
The ten dermatoscope types below cover handheld examination, imaging and teaching use. Each entry explains its role and the questions worth settling before purchase.
Polarised, non-polarised and why both matter
Non-polarised dermoscopy requires contact with the skin via a fluid interface and shows superficial features particularly well. Polarised dermoscopy works without fluid and often without contact, revealing deeper structures and vascular patterns more readily.
The two modes show different things rather than one being better, which is why hybrid instruments offering both have become the practical default for clinics assessing a broad range of lesions. If a clinic buys a single-mode device, that choice should follow a deliberate discussion rather than a default setting.
The ten dermatoscope types
1. Non-polarised contact dermatoscopes
Used with a fluid interface and a contact plate. They show superficial structures clearly, though the fluid step adds handling time and requires cleaning of the plate between patients.
2. Polarised non-contact dermatoscopes
Work without fluid or skin contact, thereby speeding examination and simplifying infection prevention—particularly useful for tender, ulcerated or awkwardly positioned lesions.
3. Hybrid polarised and non-polarised instruments
Switch between modes on the same device to let the clinician compare views of the same lesion. The usual choice for clinics seeing varied referrals.
4. Pocket dermatoscopes
Compact instruments for community, ward and domiciliary work. Convenient and quick to deploy, generally with a smaller field and simpler optics than clinic instruments.
5. Dermatoscopes with variable magnification
Allow the clinician to move between an overview and a closer inspection without changing instruments, which is well-suited to detailed structural assessment.
6. Dermatoscopes with interchangeable contact plates
Offer plates with different graticules or sizes, including small plates for confined areas such as around the eye or between digits.
7. Smartphone-mounted dermatoscopes
Attach to a phone for viewing and image capture. Establish information governance arrangements, image storage and device management before adopting these in a service.
8. Dedicated digital dermatoscopes
Camera-based systems that produce consistent images for the record, referral, and comparison over time. Confirm how images are added to the clinical record and who maintains the software.
9. Total body photography systems
Capture standardised whole-body images alongside dermoscopic views to support surveillance of patients with many lesions. Room layout and workflow planning are included with this purchase.
10. Teaching and dual-view instruments
Allow a trainer and trainee to view the same lesion together, or project the view onto a screen, to support supervised learning in clinic.
Fitting dermoscopy into the clinic list
Instrument choice should follow the list profile. A clinic assessing many lesions per patient benefits most from fast polarised examination with quick image capture, while a service focused on detailed single-lesion assessment may prioritise magnification range and image quality. Also consider who uses the instrument: when several clinicians share a device across rooms, a durable handheld with a shared charging point usually works better than a system tied to one desk.
What to confirm before ordering
-
Modes available. Confirm whether the instrument offers polarised, non-polarised, or both polarisations.
-
Magnification. Check the range and whether it is fixed or adjustable.
-
Contact plates. Confirm which plates are supplied and whether smaller options exist.
-
Image capture. Establish the attachment method, image quality and transfer route into the record.
-
Cleaning. Verify approved cleaning agents for optics, plates and housings.
-
Power. Confirm battery type, charge indication and charging arrangements across rooms.
Training, hygiene and servicing
Training matters because interpretation depends on technique. New users need guidance on the pressure applied, the choice of fluid for contact examination, and how the two modes affect the appearance of the same lesion.
Hygiene is straightforward but must be defined. Contact plates touch skin directly, sometimes broken skin, so the cleaning method between patients should be documented and agreed with the infection prevention team rather than left to individual practice.
For servicing, agree emitter or lamp replacement, battery replacement, optical repair arrangements and, for imaging systems, software support terms. Ensure the service receives published device safety alerts so field safety notices reach the clinical team.
Image governance should be agreed before any capture-capable device enters a clinic. Services comparing handheld and imaging options can raise requirements with the team at Medigear.uk.
Final thoughts
Choose the instrument the clinic will use on every patient, not the one that photographs best in a brochure. For most lesion clinics that means a hybrid handheld with reliable illumination, a defined cleaning routine and image capture that reaches the record without extra steps. Settle governance for images before the device arrives.
This article provides general procurement guidance for healthcare organisations and clinics. It is not clinical or diagnostic advice, and it does not replace manufacturer instructions or professional judgement.